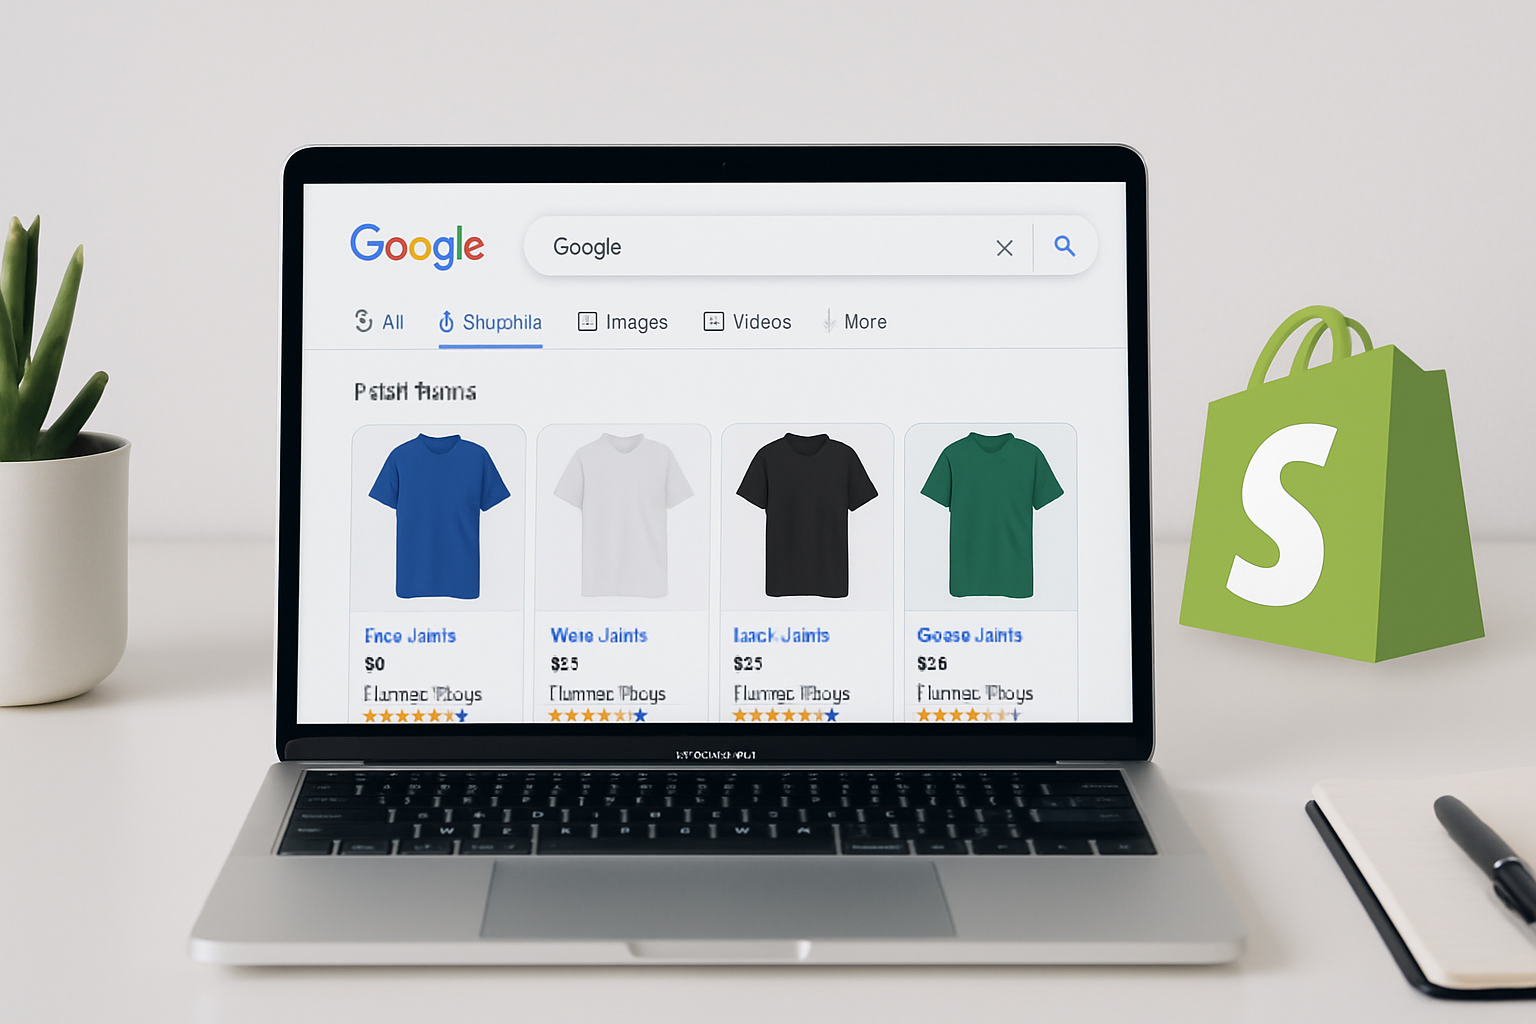
A step by step guide to getting products listed on Google Shopping, for owners who want more visibility without more ad spend.
If you sell products online, Google Shopping is one of the few places customers actively look for what you sell, with prices, photos and reviews shown before they even click through. For Shopify store owners in Wellington and across New Zealand, getting set up properly is less about technical wizardry and more about getting the groundwork right: clean product data, correct feed settings and a Google Merchant Center account that is actually configured for New Zealand sales.
This guide walks through the process step by step, and explains where most NZ store owners get stuck.
Why Google Shopping Matters for NZ Shopify Stores
Google Shopping listings appear at the top of relevant searches, showing your product image, price and store name. Unlike a standard text ad, shoppers see what they are buying before they click, which tends to mean better-qualified traffic.
For small and medium business owners, the appeal is straightforward:
- More visibility in the exact moment someone is searching to buy
- Free listings are possible in some markets, alongside paid Shopping ads
- Higher intent traffic because the price is already visible
- Works alongside your existing SEO and content, rather than replacing it
The catch is that Google Shopping runs entirely on your product data. If your feed is messy, missing details or set up for the wrong country, your products either will not show or will show incorrectly. That is where most of the actual work sits.
Step 1: Get Your Shopify Product Data in Order
Before touching Google Merchant Center, your Shopify product catalogue needs to be genuinely ready. Google is strict about product data, and a rejected feed is the most common reason listings never appear.
Check that every product has:
- A clear, accurate title (not just a brand name or SKU)
- A proper description written for a customer, not left blank
- Correct pricing, including GST
- At least one high-quality image
- Accurate stock levels and shipping details
- A valid GTIN, MPN or brand where applicable
If your product pages were built with thin, templated content, this is often the stage where owners realise they need better copy across the board, not just for Google Shopping but for the store itself.
Step 2: Set Up Google Merchant Center
Google Merchant Center is the hub that holds your product data and connects it to Google Shopping. To set it up:
- Create a Merchant Center account and verify your business details
- Confirm your business location as New Zealand and set NZD as your currency
- Verify and claim your website URL
- Set your shipping and tax settings to match how your Shopify store actually operates
- Review Google's Shopping policies so your listings are not rejected on submission
This step catches a lot of NZ business owners out, particularly around shipping rules and GST display. Getting it wrong does not usually mean an outright rejection, but it can mean your listings are suppressed or shown with incorrect pricing, which damages trust before a customer even reaches your site.
Step 3: Connect Shopify to Google
Shopify has a native Google channel integration that pushes your product feed to Merchant Center automatically. Once connected, it keeps your listings updated as stock, price and product details change in your store, so you are not manually re-uploading a spreadsheet every time something changes.
The key things to check after connecting:
- That all intended products are syncing, not just a handful
- That variants (size, colour, etc.) are showing correctly
- That the feed status in Merchant Center shows approved, not disapproved or pending
This is also where product data quality matters again. A feed can connect successfully but still have individual products rejected for missing information, so it is worth checking the diagnostics tab in Merchant Center regularly rather than assuming everything is fine once it is connected.
Step 4: Decide Between Free Listings and Paid Shopping Ads
Once your feed is approved, your products can appear in Google's free shopping listings. This gives you visibility without ongoing ad spend, which is exactly why this setup is worth doing properly from the start.
From there, many store owners choose to layer paid Google Shopping Ads on top, to get more prominent placement for their best-selling or highest-margin products. This is a separate decision from getting listed in the first place, and it is worth treating it that way rather than assuming you need to pay to appear at all.
If you do move into paid Shopping campaigns, the same principle applies as with the free listings: bidding needs ongoing attention. Budgets that sit on autopilot tend to drift toward whatever converts easiest, not necessarily what is most profitable for your business.
Step 5: Monitor, Fix and Keep the Feed Healthy
Google Shopping is not a set-and-forget job. Products get disapproved, prices go out of sync, and stock issues create a poor customer experience if they are not caught. A basic ongoing routine should include:
- Checking the Diagnostics tab in Merchant Center monthly
- Fixing disapproved products promptly, rather than letting them sit
- Reviewing which products are actually generating clicks and sales
- Updating product titles and descriptions as you learn what customers search for
Store owners with hundreds of products often find this maintenance work is where the wheels fall off, simply because there is no time to check it regularly alongside running the business.
Where Media Giant Fits In
We build Shopify stores for Wellington and wider NZ businesses, and Google Shopping setup is included as part of every Shopify build, not sold as a separate extra. That includes:
- Free product loading, so your catalogue is complete and correctly structured from day one
- Google Shopping Ads setup, handled during the build rather than bolted on afterwards
- SEO-ready architecture, so product pages are built to rank as well as convert
- High 90s PageSpeed themes, because a slow product page loses customers regardless of how well it ranks
One example is Possum Boutique, where organic traffic tripled in six months on their new store, with product loading handled entirely by our team rather than the owner.
Every Shopify build runs at $250/month, or $2,500 upfront, ex GST, and includes hosting and reporting written in plain English, not marketing jargon. If you later want ongoing content, Google Ads management or link building, those sit alongside the store as separate services, but nothing is bundled in that you have not asked for.
Your Next Step
If your Shopify store is not showing up on Google Shopping, or you are not sure whether your feed is even connected properly, the fastest way forward is to have someone check it for you. Get in touch with Media Giant in Wellington, and we will look at your current setup, tell you plainly what is working and what is not, and build the store properly if you are starting from scratch.